The Torus -

The Second task to the course was to turn a 200mm x 100mm rectangle piece of aluminium into the shape of a torus through the manipulation of reshaping the properties of the aluminium.
Material:
- 200mm x 100mm Aluminium sheet
Tools used:
- Marking pencil
- Ruler
- Tapered plastic mallet
- Chasing hammer
- Cylindrical wooden stump with concave void
- Metal horse shoe dolly
- English Wheel
Step 1
Using the ruler I could measure the aluminium plate into sections which would be responsible for the different sections of curvature.

Step 2
The stump with the concave void was the first major tool responsible to get the initial curve started, by using a second pair of hands to help it greatly increased the effectiveness of this step, allowing the aluminium to have a consistent pressure wrapping around the wooden block helping it maintain the main curve whilst still being able to hammer down the middle resulting in the shrinking and second curve to be formed.

Step 3
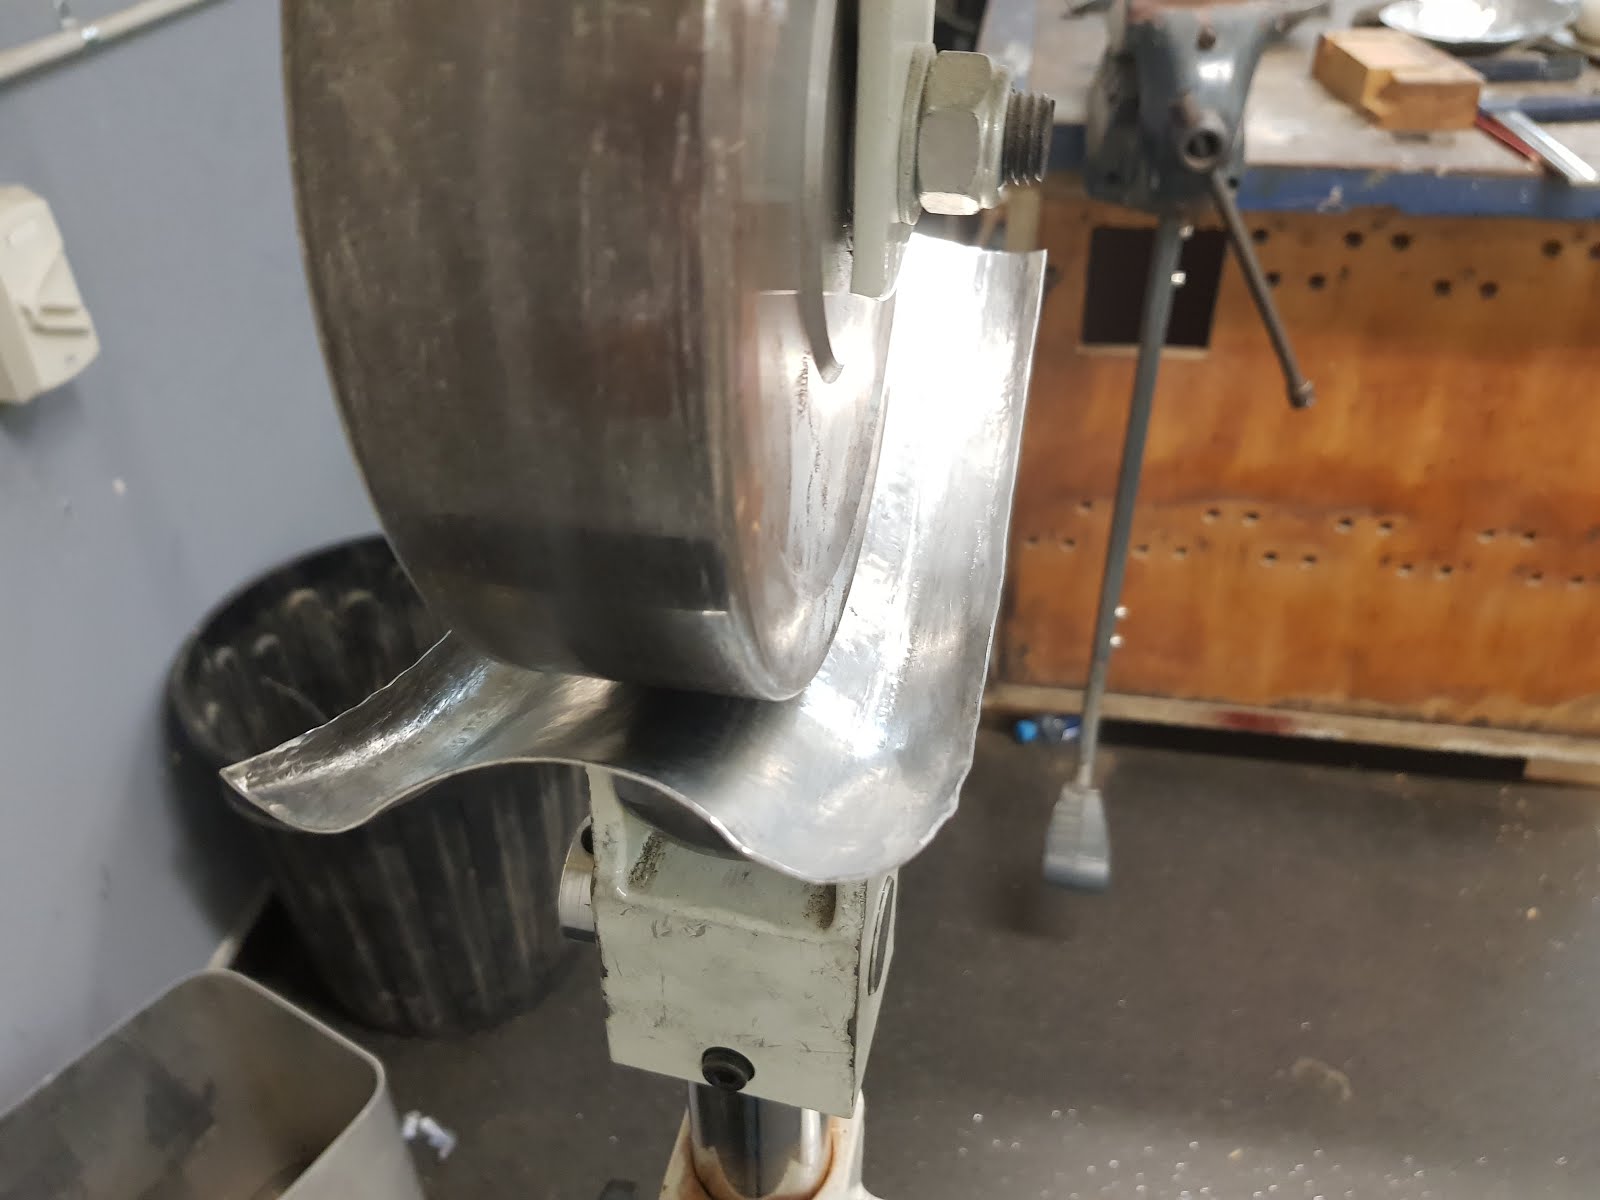
The third step was to then create the two mirroring curves on the opposite edges to achieve the final 'm'shape of the torus. This step required the use of the metal horse shoe dolly and the chasing hammer to slow hammer and stretch out the aluminium on the edges helping it wrap around the dolly to begin taking shape of the final form.

Step 4
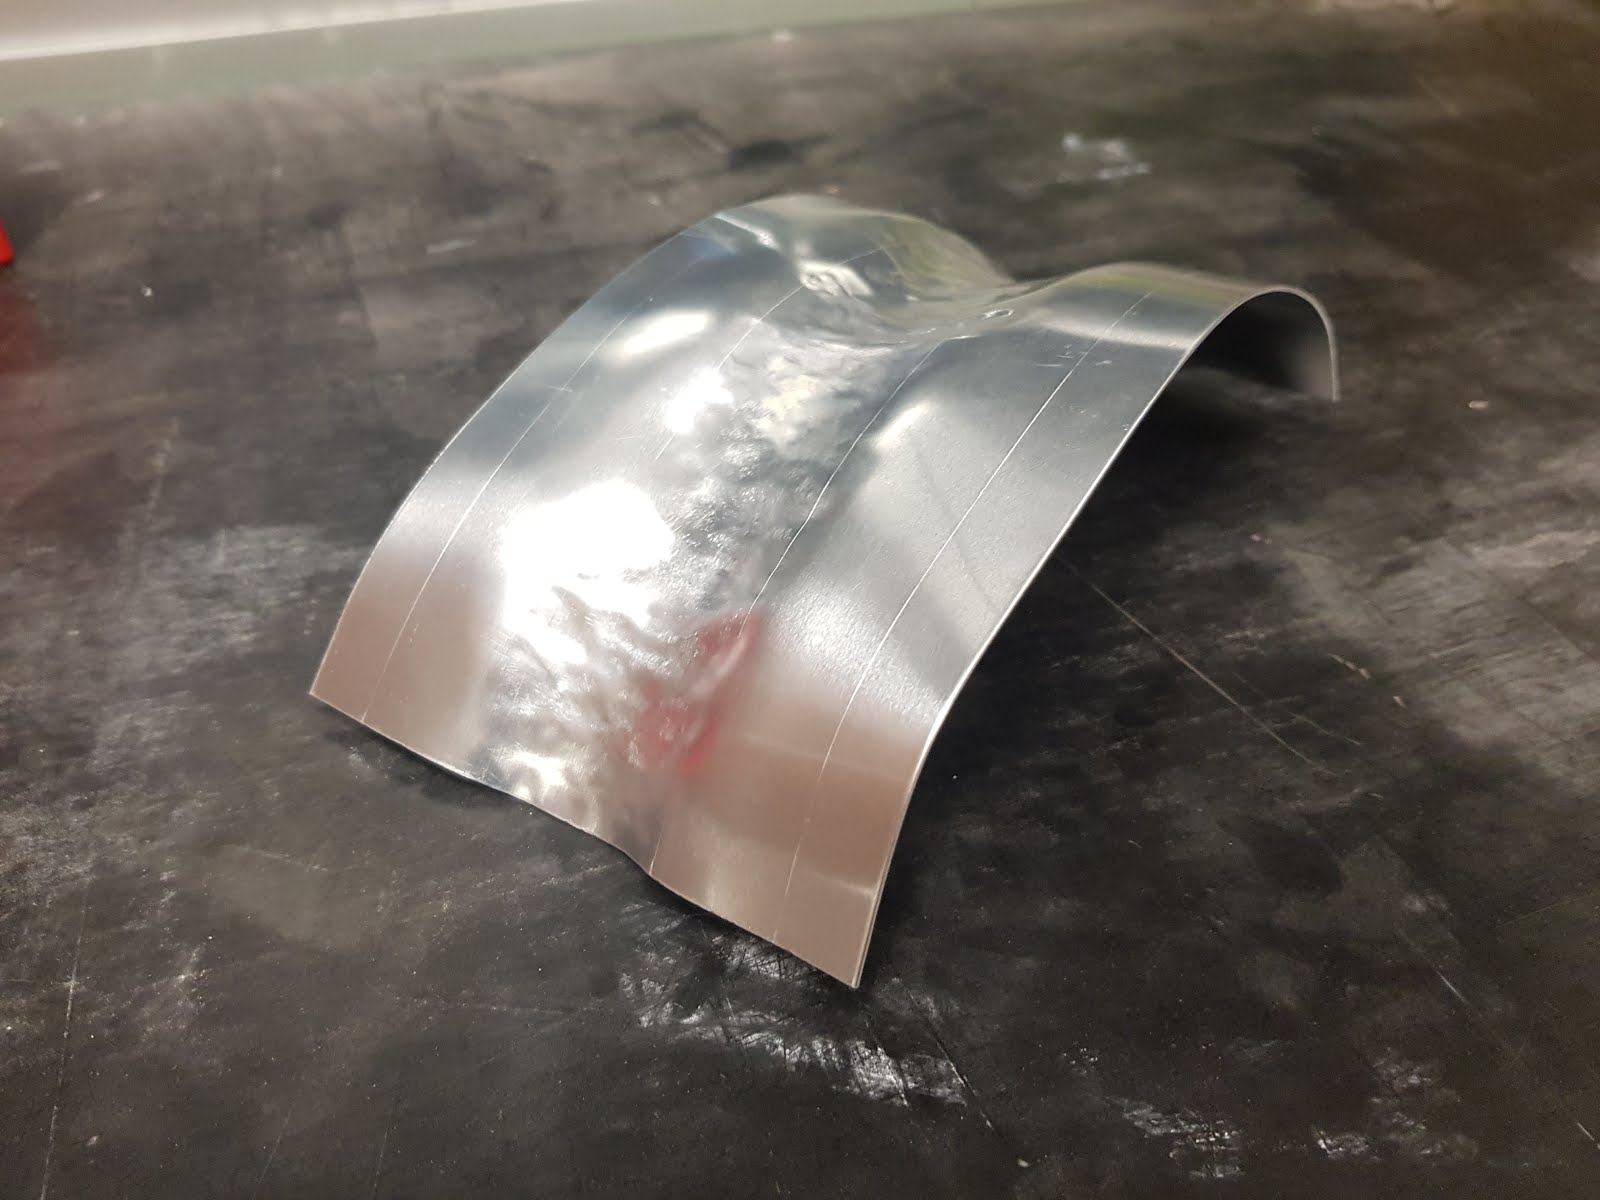
The final step required the use of the English wheel. I had to alternate between the large and smaller English wheels that the workshop provided depending on the surface area i was rolling. When working on the outer sections i used a much smaller wheel with a deep curve compared to much larger and shallower curve wheel for the inner section. By slowing increasing the pressure of the English wheel and using a consistent end to end rolling pattern i could achieve the most uniform and smooth finish as possible.

Final results from the English Wheel


Step 6
Sand and polish for a smoother surface finish.

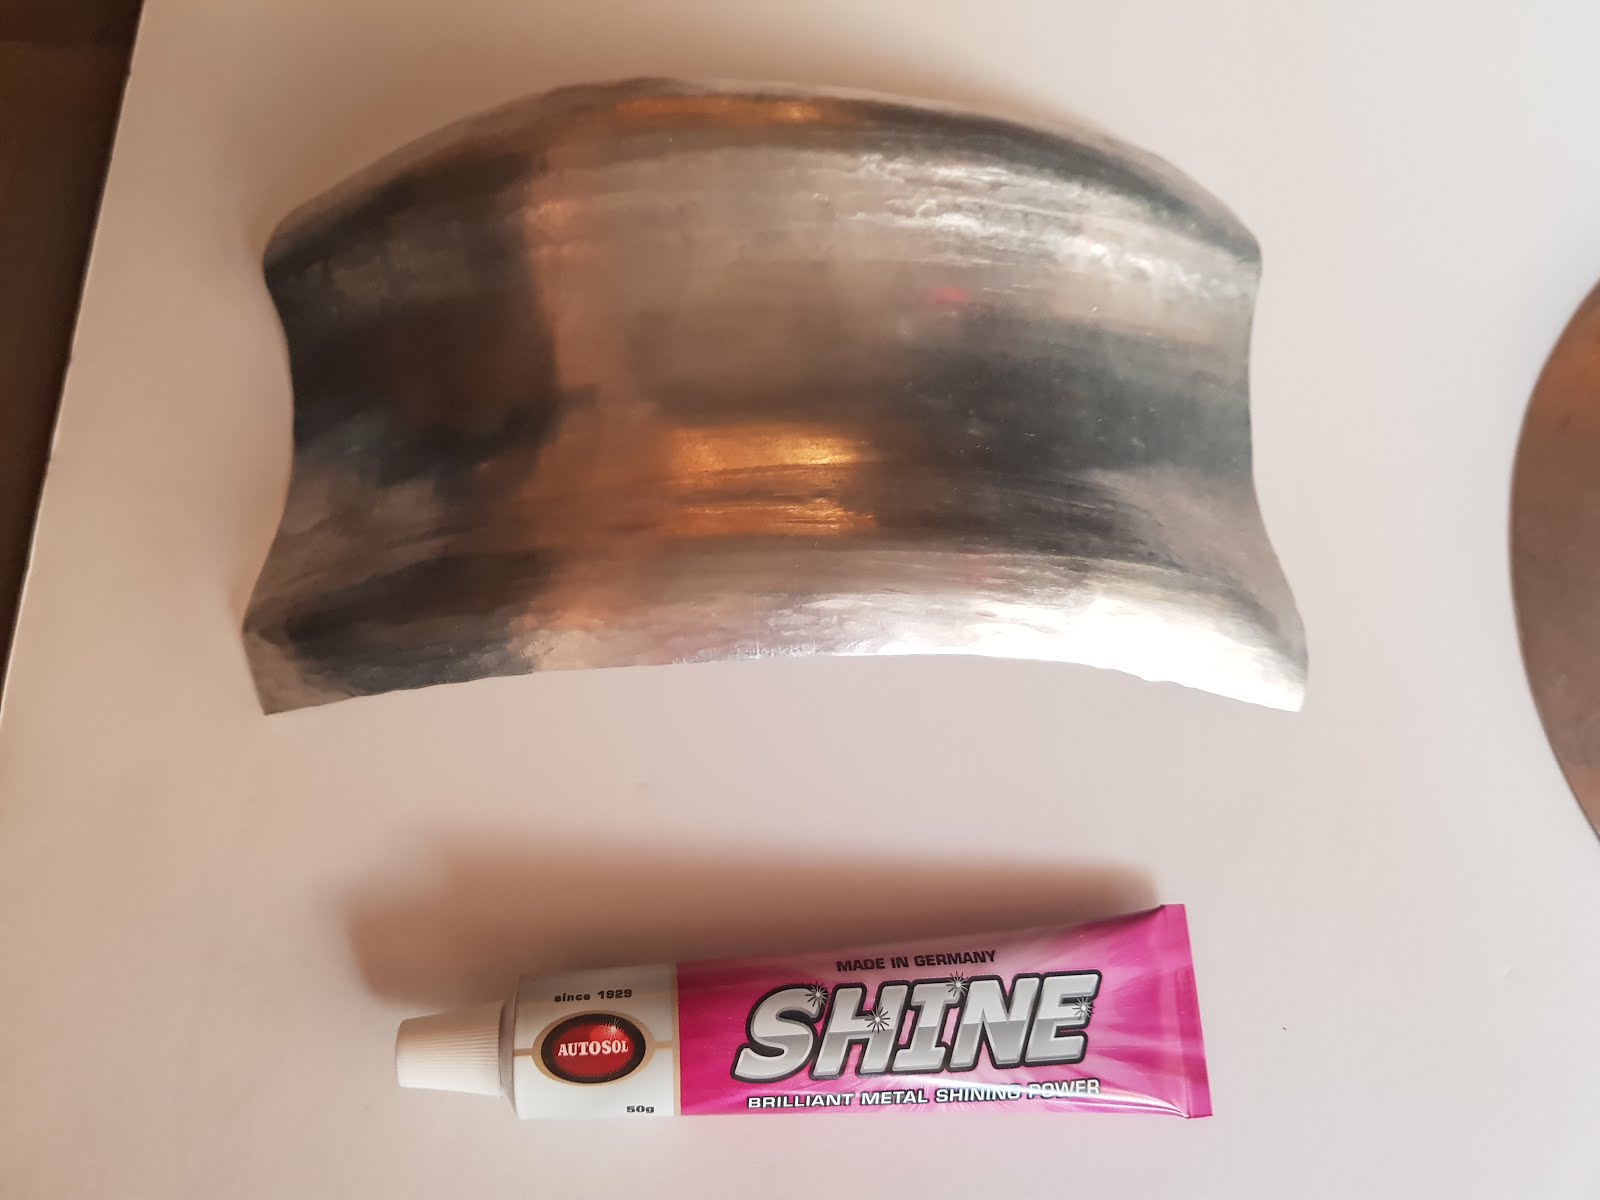
Final Pictures


Comments
Post a Comment